Connect to your PROXESS system via the PROXESS Administrator Console.
Select the directory “Users” and choose the desired users. Double-click to open the Properties dialog. Alternatively, select Properties in the action panel on the right, in the “Action” menu or by using the context menu.
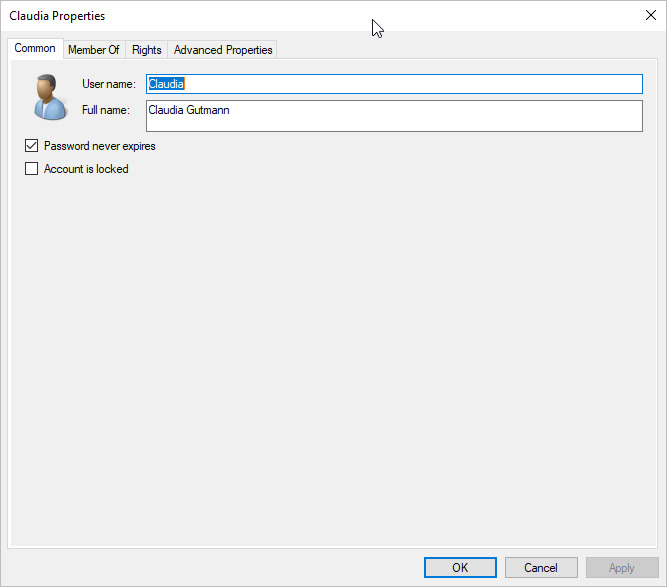
The following dialog box appears:
Fig.: General user properties of the user “Andrea Stern”.
The general properties for a user include the short and full name, password expiration period and the blocking/unblocking of the user account. You can change these properties if needed. For users in the user category “Windows authentication”, however, the fields user name and full user name are deactivated. These properties can only be changed via the Windows Active Directory. The changes applied there are automatically adopted into the PROXESS user properties.
Warning information
|
|
Users can’t be deleted, only blocked. This ensures that user-specific logs in the system (e.g., for the creation or processing of documents) won’t get lost. You can hide blocked users through a filter function so that only active users are displayed. |
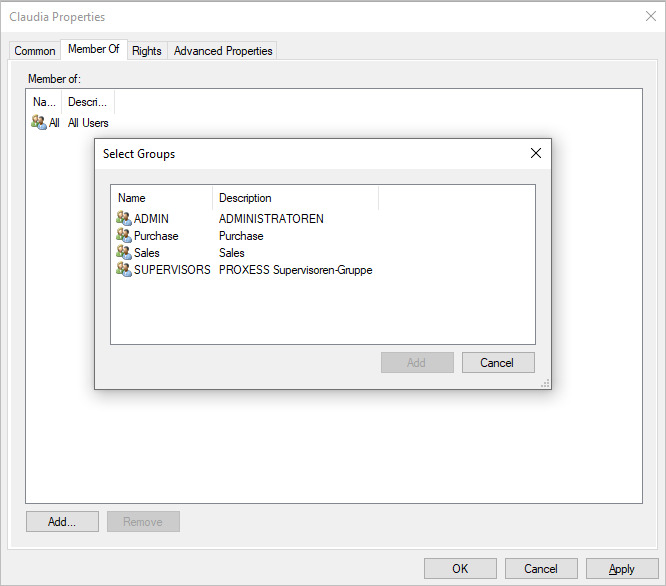
Under the “Member of” tab, you can define the user’s group memberships. A user can be a member of one group, several groups or none:
All access and action rights of the user of the connected archive database are shown under the “Rights“ tab. Of course this presumes that you have previously connected to a database. The management of access rights is explained in the chapter “Access rights”.
Tip
|
|
It has proven effective in practical experience to grant rights on a group level and assign users according to the groups. If a user is a member of a group, the user will also get the corresponding rights. This is why the assignment of members to groups should be based on which rights a user should get. |
All contact and address data of a user are managed in PROXESS under the “Advanced properties” tab. These values can be used for the configuration of External thesauruses, for example.
You can pre-allocate the properties of the respective user here. The properties entered in the AD user management are automatically adopted here. Under Display name, enter the name that should be displayed when the user sends e-mails. Under E-mail address, enter the user’s valid e-mail address. The associated SMTP settings are automatically entered by the system.
Also see: