To open the editing window, highlight a profile in the start window and select the New job command (alternatively: double-click the desired profile).
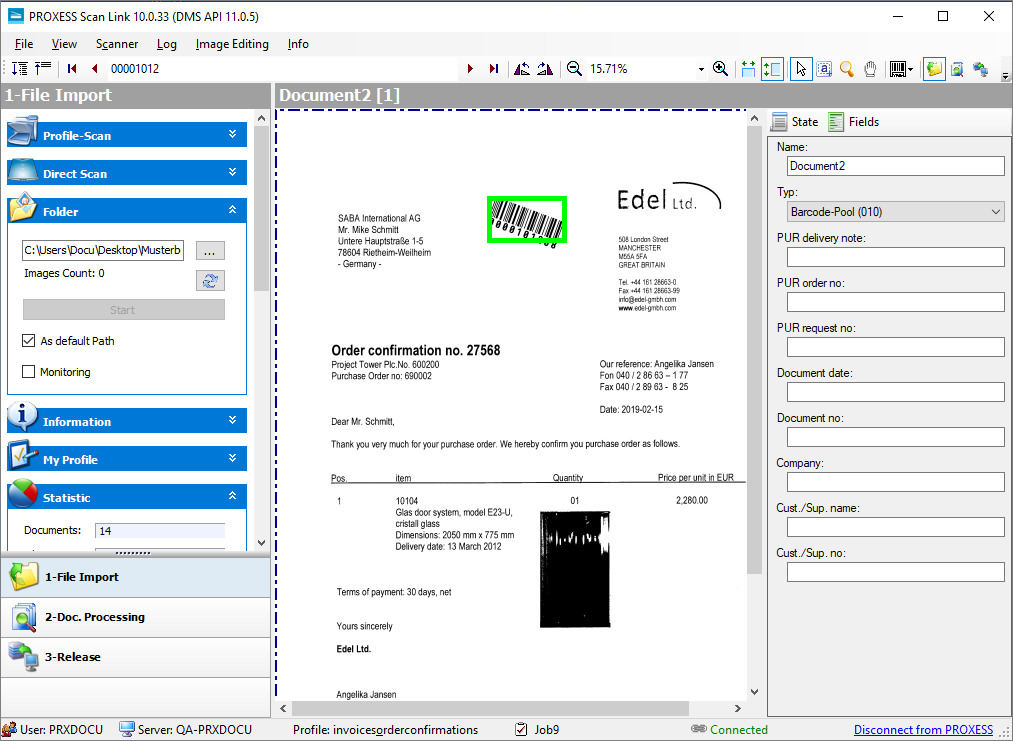
Figure: Scan editing window with left, center and right image area
The editing window is divided into three areas:
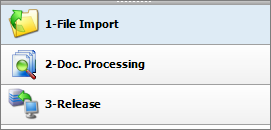
Fig.: The three processing steps during scanning
In the left image area, you control the Import, the Document management and the Transfer of the documents into the archive. Clicking each command opens the associated functions in the top left area of the image.
In the center of the image, the imported documents are displayed with their page number (e.g. image 12 of 20).
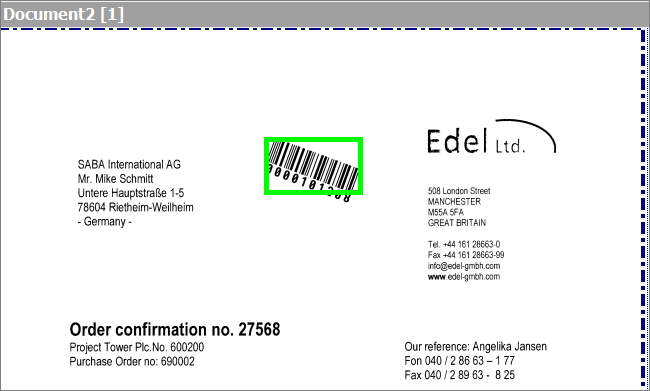
Fig.: PROXESS Scan Client editing mask (display of the scanned documents)
In the right image area you have the option to display a status overview for the current job.
Information about the document and page count and recognized barcode number (status), a list of the scanned documents (images) and the available fields for indexing the document (fields) are shown here.
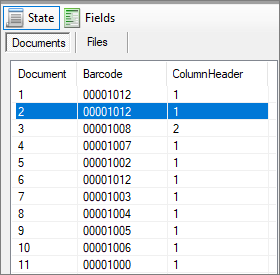
Fig.: Status overview of scanned documents
By clicking the “Document”, “Barcode” or “Number” columns, the documents are sorted in ascending or descending order according to the column.
The menu bar of the scan interface of the PROXESS Scan Client offers the menus “File”, “View”, “Scanner”, “Log”, “Edit images” and “Info”.
![]()
Fig.: Menu bar of the editing window
You can find the following commands in the menus:
|
“File” menu |
The Exit command is under the “File” menu. You can use this to close the editing window and return to the start window of the PROXESS Scan Client, in which you can create profiles, load or delete open jobs or archive released jobs.
|
|
View |
In the “View” menu, you open and close the dialogs for the Import processing step by hiding or displaying the detailed view for Profile scan, Direct scan, Folder, Info and My profile.
|
|
Scanner |
In this menu you can find all settings relating to the scanner. They correspond to the menu items Profile scan and Direct scan in the Import processing step.
|
|
Log |
See the Settings menu (logging)
|
|
Image editing |
Here you can rotate documents that were scanned upside down and save them correctly. This prevents users having to rotate such a document each time it is viewed. You can also enlarge or reduce the size of the documents for viewing. |
|
Info |
In the “About” menu item, you will find information about the installed PROXESS Scan Client program version.
In the “My profile” menu item, you can find all settings for the current scan profile in a clear directory structure.
With the menu item “Help”, you can access the online help.
|

Several icons for operating Scan Client are positioned below the menu bar:
|
|
In the “Document management” processing step, the “Expand” icon opens the individual documents with pages in a clear tree structure. You can display individual documents by clicking the plus symbol of the document. |
|
|
The “Reduce” icon closes the above view as a tree structure so that only the individual documents without the pages are visible. |
|
|
Shows the first page of the current document stack |
|
|
Shows the previous page of the document stack |
|
|
Contains the recognized barcode number. It can be changed manually if needed. |
|
|
Shows the next page of the document stack |
|
|
Shows the last page of the document stack |
|
|
Rotate the currently shown page by 90° to the left |
|
|
Rotate the currently shown page by 90° to the right |
|
|
With the buttons, the document view can be optionally reduced, enlarged or adjusted by percent. |
|
|
Fit page view to window width |
|
|
Fit page view to window height |
|
|
Switch to default editing mode |
|
|
Select and enlarge image sections |
|
|
Temporary enlargement of subsections (magnifying glass) |
|
|
“Grabbing” and moving the displayed image area, e.g. if the entire image isn’t shown. |
|
|
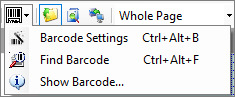
Opens the menu Barcode options:
The menu item Barcode options opens the dialog for settings for barcode recognition (see Barcode settings).
The Find barcode command searches the entire scanned image again for barcodes that were not yet captured automatically.
|
|
|
Switches to editing mode Import |
|
|
Switches to editing mode Document management |
|
|
Switches to editing mode Transfer |
|
|
Selection of a zone profile (see below) for the current document. For documents with several barcodes, for example, this can be used to narrow down the barcode recognition to a certain zone and thus only find relevant barcodes. |
|
|
Creating a new zone profile (see image below)
|
Creating a new zone profile for barcode recognition:
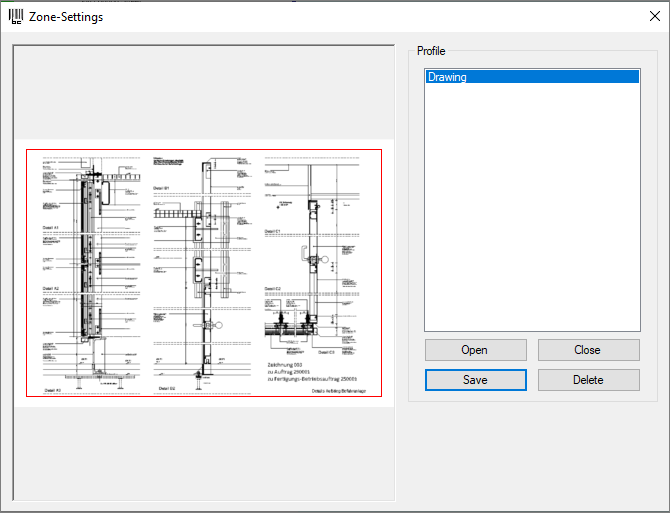
Fig.: “Zone setting” dialog for barcode recognition
With the Open command, select a sample scanned document on the hard drive. Highlight a section of the image with the mouse. Use the Save command to assign a name to a new zone or update an existing zone. Now the zone profile is available for the current scan profile.

Figure: Status bar of the editing window
The following information is listed in the status bar at the lower edge of the image:
- Logged-in user
- Applied PROXESS server
- Selected scan profile
- Job number
- Status of connection to the PROXESS server (No connection or Connected)
With the Login to PROXESS link, you can restore an interrupted connection to the applied PROXESS system. With Log out from PROXESS, an existing connection to the PROXESS system is canceled.
Also see: