To access the scan editing features, open the editing window by double-clicking a scan profile or an existing scan job.
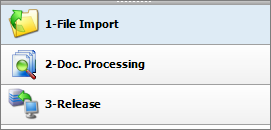
The scan editing is generally performed in these three processing steps:
First step: Document import
Second step: Document management
Third step: Transfer (to the archive)
Fig.: The three processing steps of the PROXESS Scan Client
After accessing the editing window, you are automatically at the first processing step, “Import”.
There are three options for importing when importing/scanning documents:
Profile scan
Direct scan
Importing from a folder
The visibility of the individual sections can be determined via the “View” menu. You can also expand and collapse the sections with the arrow symbols 
 in the left area of the screen.
Scanning documents with the “Profile scan” option makes it possible to set up fixed scanner profiles in the PROXESS Scan Client, to save them and use them whenever needed.
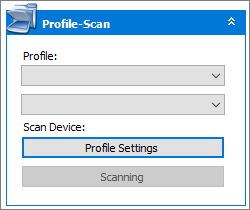
Figure: “Profile scan” menu section in the “Import” processing step
In the scanner profiles, you can store settings for the accessed scanner, the DPI resolution, brightness, paper alignment and more. This enables you to categorize recurring documents at your company and store fixed scan settings for the various types of documents (e.g. yellow delivery slip paper, very faintly printed paper or A5 receipts that are inserted in landscape format).
The scanner profiles are defined for each scanner and are then available to all users in all established scan profiles. Open the “Profile Settings” menu to create a new scanner profile. You can find details about the possible settings under: Scanner settings
Use Start scanning (CTRL + P) to import the documents placed in the scanner.
Select the Direct scan option if you want to access the manufacturer’s own scanner dialog. This might offer additional setting options for the above-mentioned scanner settings.
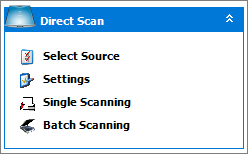
Figure: “Direct scan” dialog area
Select the command Select source to select a connected scanner.
Use the Settings command to open the manufacturer-specific scanner configuration dialog and then apply the desired settings.
The scanning process is started with the commands Single scan or Batch scan. If you select Single scan (CTRL +S) , only one page is scanned. If you select Batch scan (CTRL +B), the entire paper stack is imported.
|
|
To access the scanner’s Twain driver, the logged-in Windows user must have full access to the Windows installation directory. Otherwise there may be error messages during scanning or the accessed scanner won’t react. Grant the respective rights to the logged-in Windows users or grant them local administrator rights. |
Use the option Import from a folder to import already existing scanned files from a directory at a workplace. This makes it possible to use e.g. network scanners or multifunctional devices that aren’t locally connected to the scan workplace. Only Group 4 compressed TIFF files are accepted.
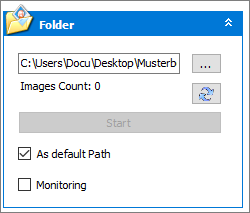
Figure: “Scanning from a folder” in the Import processing step
With the ![]() button, you can select an import directory for your scanned files at your workplace. The directory shown by default corresponds
to the import directory listed in the “Advanced properties” tab of the active scan profile.
button, you can select an import directory for your scanned files at your workplace. The directory shown by default corresponds
to the import directory listed in the “Advanced properties” tab of the active scan profile.
The number of image files available there is displayed. The display can be updated with the  button.
The “as default path” function makes it possible to define a default path for importing files across all profiles. However, if a separate import directory should be used for a certain scan profile, this can be specified via the scan profiles in the “Advanced properties” tab.
Start importing files from the monitor folder with Start (CTRL +F).
With the activated “Monitor” option, the specified folder is checked for existing scanned files. If there are scanned documents in the folder, the import process is started automatically.
|
|
The scan mask must be open for the monitor function to work. |
Now the scanned documents are available for further processing in Document management.
When you open the “Info” dialog area, you will see detailed information about the currently displayed document:
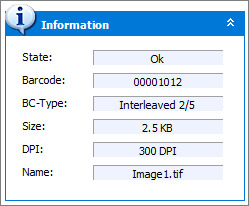
Figure: Info
Here you can see information about the currently used scan profile.
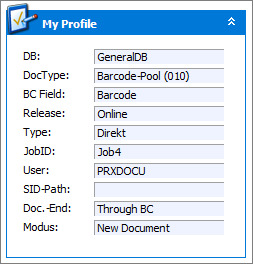
Figure: My profile
Here you can see a list of the imported documents with the imported pages and the recognized barcodes. If you selected the option “Barcodes only on first page”, you can quickly see at a glance whether all barcodes were recognized and all pages were properly split.
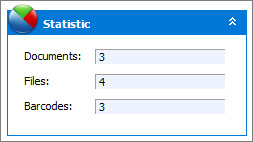
Fig.: Statistic overview for the import
Also see:

