Create new profile
Nearly all settings for processing scan jobs are defined in a profile. A job is considered a certain amount of documents (e.g. a stack of scanned documents) that should be processed and archived with identical settings.
The settings are related to:
-
The assignment to the PROXESS archive
-
The transfer mode (e.g. online/offline)
-
The document split and barcode settings
-
The properties for individual index fields (properties fields)
-
The further processing with PROXESS Xtract
Tip
|

|
Profiles are user-dependent. A created profile is initially only visible to the user who created it (e.g. for the admin or the scan user 1, scan user 2, etc.). It is therefore possible that each logged-in user can see different profiles in the
Scan Link start window.
When the setting The profile is visible to all users is activated in the “Advanced properties” tab, a profile can also be made available
to all users at this local scan station. To transfer a profile to another scan station, the existing profile is exported (XML file) and can then be imported there as an XML file (see exporting or importing profile.) Additionally, there is
the option to transfer scan profiles to the server and distribute them centrally in the PROXESS Management Console.
|
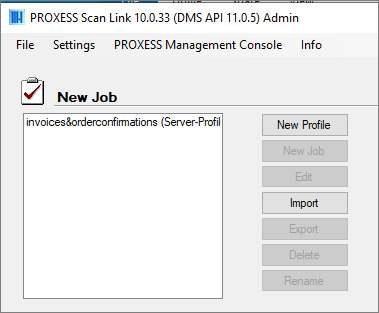
If you now want to create a new scan profile, select the New profile button in the start window of the PROXESS Scan Link:
The following dialog box opens:
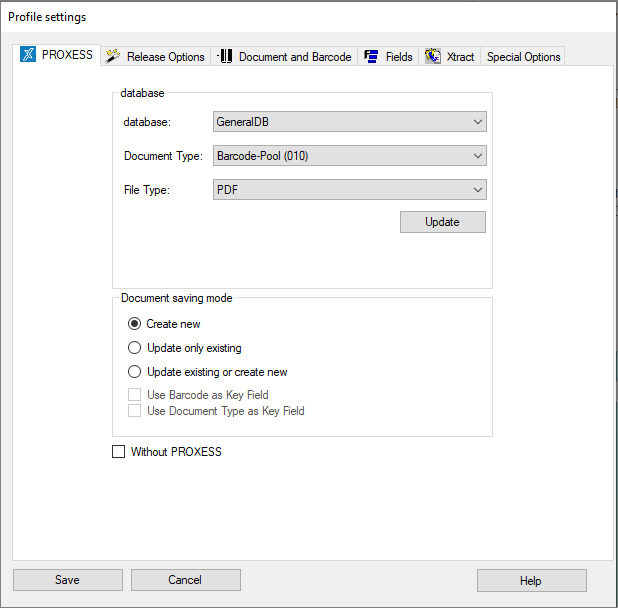
Figure: Profile settings (“PROXESS” tab)
You will now see five tabs with which you can configure the new scan profile.
These tabs are:
- PROXESS settings
- Transfer
- Document and barcode
- Fields (and field properties)
- Xtract
- Advanced properties
The meanings of the individual settings are explained in the corresponding sections.
The Save command only becomes active when all necessary settings have been applied. With Save, the settings for all tabs are saved.
As a last step, assign a name to the new scan profile.